7.1 Access to the Network
Welcome to the Internet of Things (IoT) world! 🌐
The Raspberry Pi Pico W opens up endless possibilities by adding Wi-Fi connectivity to your projects. While it shares the same GPIO pins, microUSB port, and compact size as the regular Pico, the addition of the CYW43439 2.4GHz Wi-Fi chip from Infineon transforms it into a powerful IoT device.
🚀 What This Means for Your Projects: - Connect to the internet and access web services - Send sensor data to cloud platforms - Control your projects remotely from anywhere in the world - Receive real-time updates and notifications - Build smart home devices that integrate with existing systems
📡 In This Chapter: You’ll learn the fundamental skills for IoT development - how to connect your Pico W to Wi-Fi networks reliably and securely. These techniques form the foundation for all the exciting IoT projects that follow!
Component List
Raspberry Pi Pico W x1
MicroUSB cable x1
1. Connect to the Internet
🎯 The Simplest IoT Connection Ever!
Believe it or not, with just 5 lines of MicroPython code, your Raspberry Pi Pico W can join the global internet! This is where your IoT journey begins.
⚡ Quick Start Options:
- Interactive mode: Type these commands directly in the Thonny Shell, pressing Enter after each line
- Script mode: Create a new .py file and run it as a complete program
import network
wlan = network.WLAN(network.STA_IF)
wlan.active(True)
wlan.connect("SSID","PASSWORD")
print(wlan.isconnected())
Create a new script by clicking the New button on Thonny, and copy and paste the above code, changing the
SSIDandPASSWORDto your own.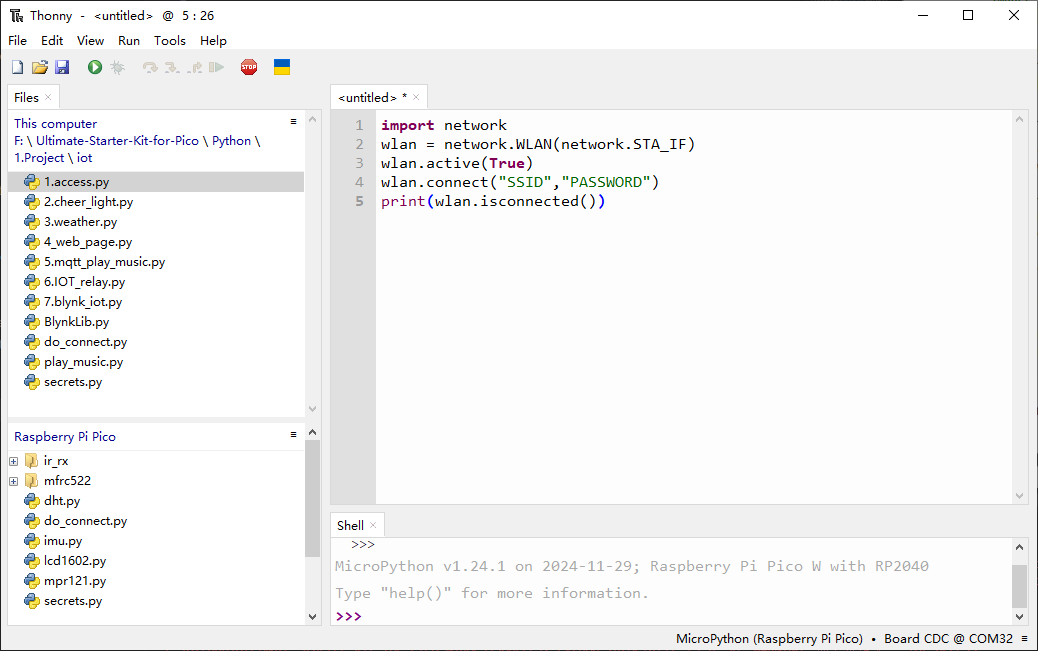
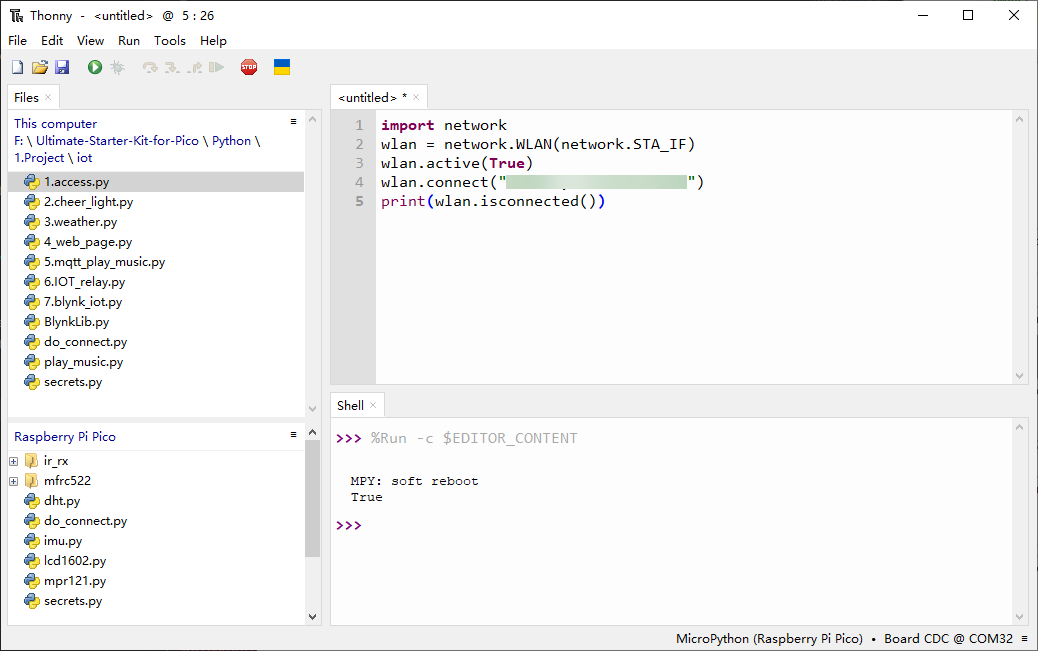
To run the script, click the Run current script button or press F5. If the connection is successful,
truewill be printed.Note
Make sure the Raspberry Pi Pico W is connected to computer via a USB cable, then click on the bottom right corner to select MicroPython (Raspberry Pi Pico).COMXxx as the interpreter.
2. Professional Connection with Timeout & IP Display
🔧 Real-World Reliability!
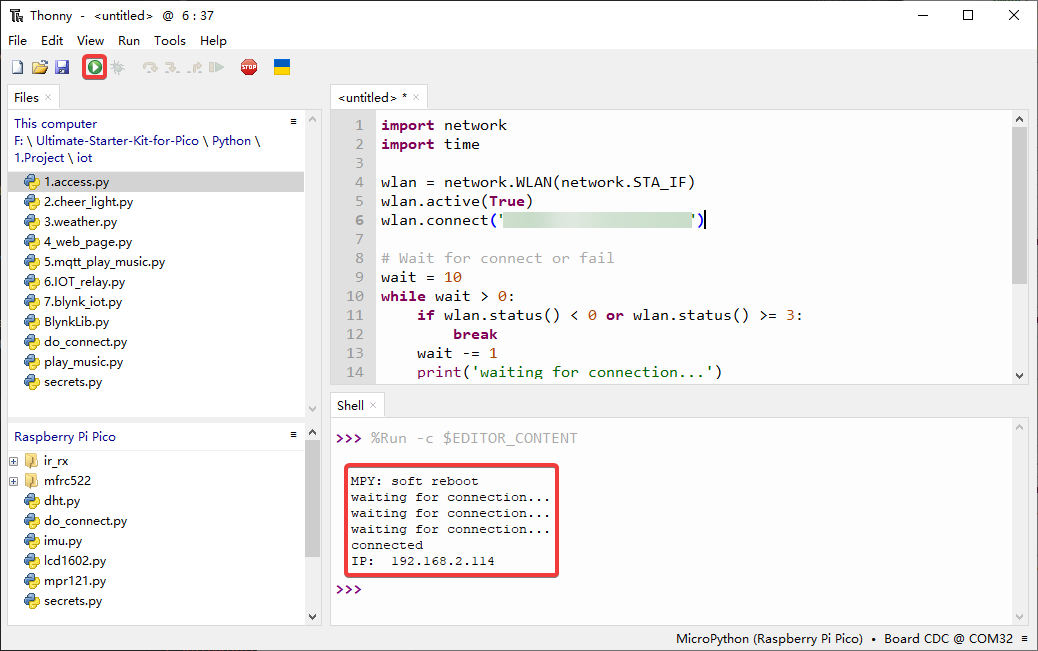
In the real world, networks aren’t always perfect. Let’s make our connection code production-ready by adding timeout handling and useful feedback.
✨ Enhanced Features: - Smart timeout: Won’t wait forever if the network is down - Status monitoring: See exactly what’s happening during connection - IP address display: Know your device’s network identity - Error handling: Gracefully handle connection failures
import network
import time

wlan = network.WLAN(network.STA_IF)
wlan.active(True)
wlan.connect("SSID","PASSWORD")

# Wait for connect or fail
wait = 10
while wait > 0:
    if wlan.status() < 0 or wlan.status() >= 3:
        break
    wait -= 1
    print('waiting for connection...')
    time.sleep(1)

# Handle connection error
if wlan.status() != 3:
    raise RuntimeError('wifi connection failed')
else:
    print('connected')
    print('IP: ', wlan.ifconfig()[0])
wlan.status()function: Returns the current status of the wireless connection, the return value is shown in the table below.Status
Value
Description
STAT_IDLE
0
no connection and no activity,
STAT_CONNECTING
1
connecting in progress,
STAT_WRONG_PASSWORD
-3
failed due to incorrect password,
STAT_NO_AP_FOUND
-2
failed because no access point replied,
STAT_CONNECT_FAIL
-1
failed due to other problems,
STAT_GOT_IP
3
connection successful.
wlan.ifconfig()function: Obtains IP addresses, subnet masks, gateways, and DNS servers. This method will return a 4-tuple containing the above information when called directly. In this case, we only print the IP address.
3. Secure Your Credentials with secrets.py
🔒 IoT Security Best Practice!
When sharing your amazing IoT projects on GitHub or with friends, you definitely don’t want to accidentally share your Wi-Fi password or API keys! This is where security-conscious development begins.
🛡️ Why This Matters: - Privacy protection: Keep your personal network credentials safe - Professional development: Follow industry-standard security practices - Future-proofing: Prepare for projects that use API keys, tokens, and other sensitive data - Easy sharing: Share your code without worrying about exposing private information
You can find this file in Ultimate-Starter-Kit-for-Pico-W/1.Python/iot
Note to change
SSIDandPASSWORDto yours.secrets = { 'ssid': 'SSID', 'password': 'PASSWORD', }
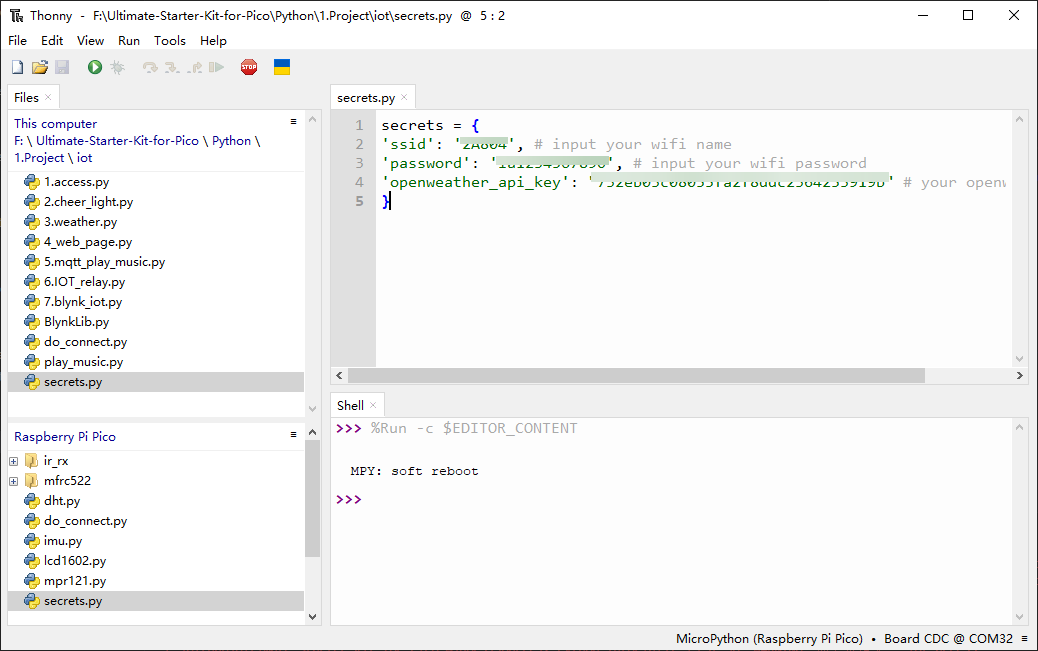
After modifying, right-click to upload it to your Raspberry Pi Pico W
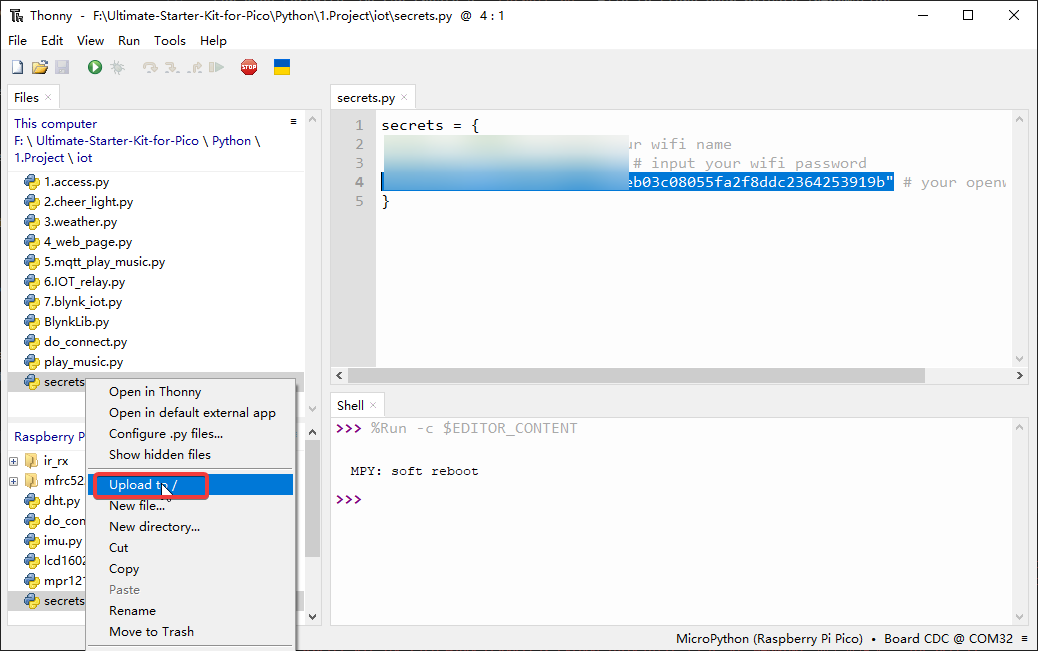
Now you can see this script in your Raspberry Pi Pico W.

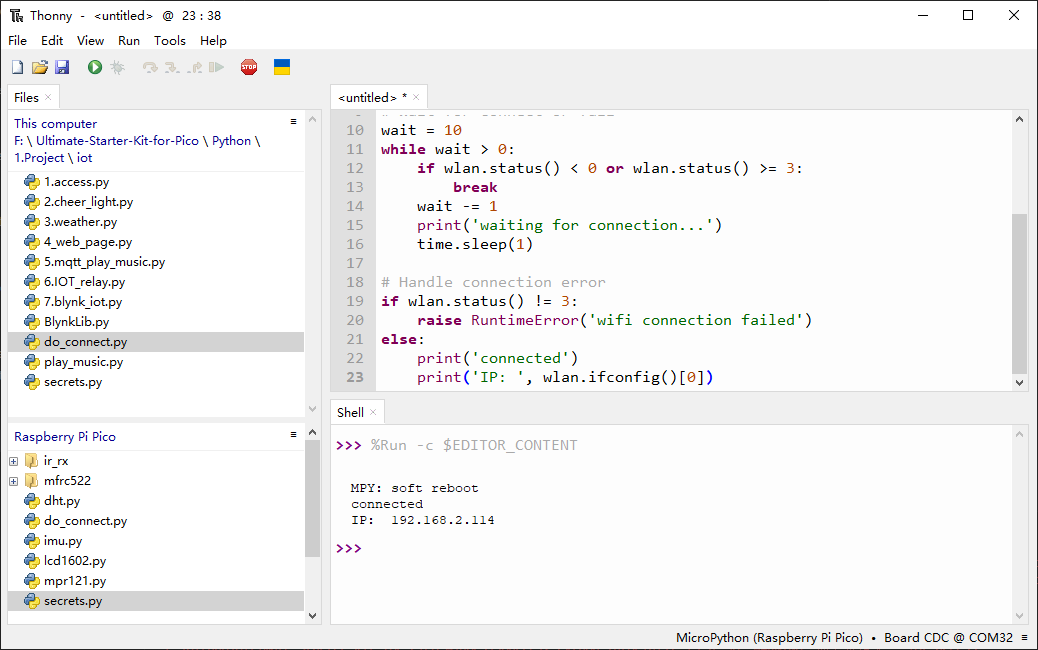
In other scripts, you can call it as follows. If you run it, you will see a successful Wi-Fi connection. The
secrets.pyfile is imported as a library, so we need not worry about leakage of information.""" Simple WiFi Connection Demo This file demonstrates basic WiFi connection for educational purposes """ import network import time from secrets import secrets # Connection configuration constants MAX_WAIT_TIME = 10 # Maximum connection wait time in seconds CONNECTED_STATUS = 3 # WiFi connected status code RETRY_INTERVAL = 1 # Time between connection checks print("Starting WiFi connection demo...") print(f"Attempting to connect to: {secrets['ssid']}") # Initialize and activate WiFi interface wlan = network.WLAN(network.STA_IF) wlan.active(True) # Start connection attempt wlan.connect(secrets['ssid'], secrets['password']) # Monitor connection progress with timeout remaining_time = MAX_WAIT_TIME while remaining_time > 0: current_status = wlan.status() # Check if connection completed (success or failure) if current_status < 0 or current_status >= CONNECTED_STATUS: break remaining_time -= 1 print(f"Establishing connection... {remaining_time}s remaining") time.sleep(RETRY_INTERVAL) # Display connection result if wlan.status() != CONNECTED_STATUS: print(f"ERROR: WiFi connection failed with status {wlan.status()}") raise RuntimeError("WiFi connection failed") else: ip_address = wlan.ifconfig()[0] print("SUCCESS: WiFi connection established") print(f"Device IP Address: {ip_address}") print("Connection demo completed successfully")
4. Reusable Connection Module - do_connect.py
🔧 Professional Code Organization!
As your IoT projects grow more complex, you’ll want to reuse your Wi-Fi connection code across multiple projects. The do_connect.py module is a clean, professional solution that makes connecting to Wi-Fi as simple as calling a single function.
💡 Why Use a Separate Module: - Code reusability: Write once, use everywhere - Clean project structure: Keep your main code focused on the core functionality - Easy maintenance: Update connection logic in one place - Professional practice: Follow modular programming principles
You can find this file in Ultimate-Starter-Kit-for-Pico-W/1.Python/iot, and we need to upload it to the Pico W.
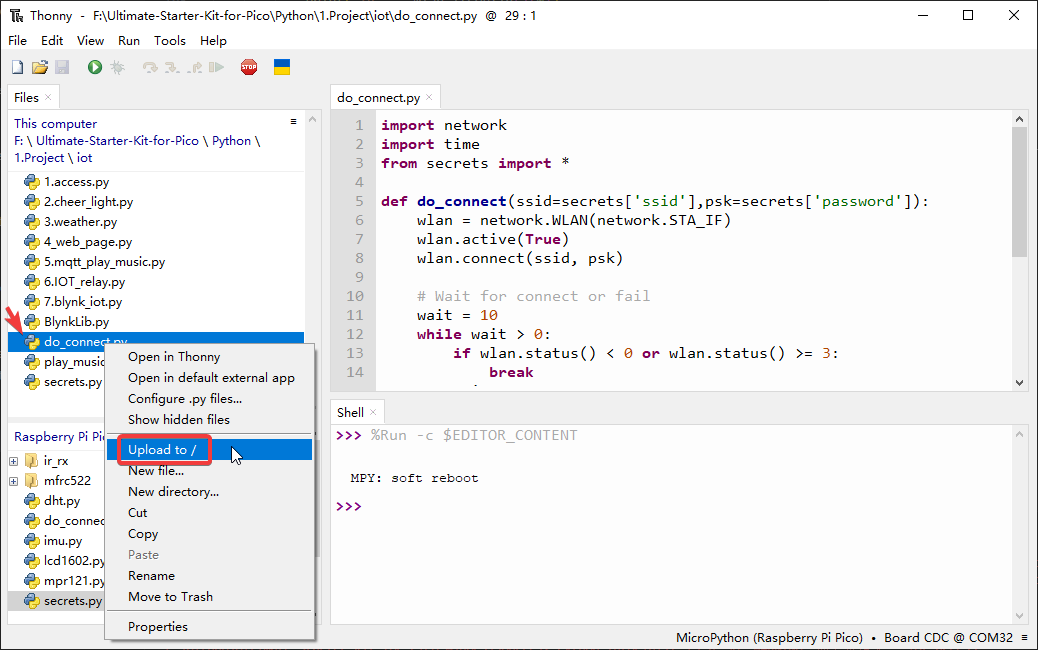
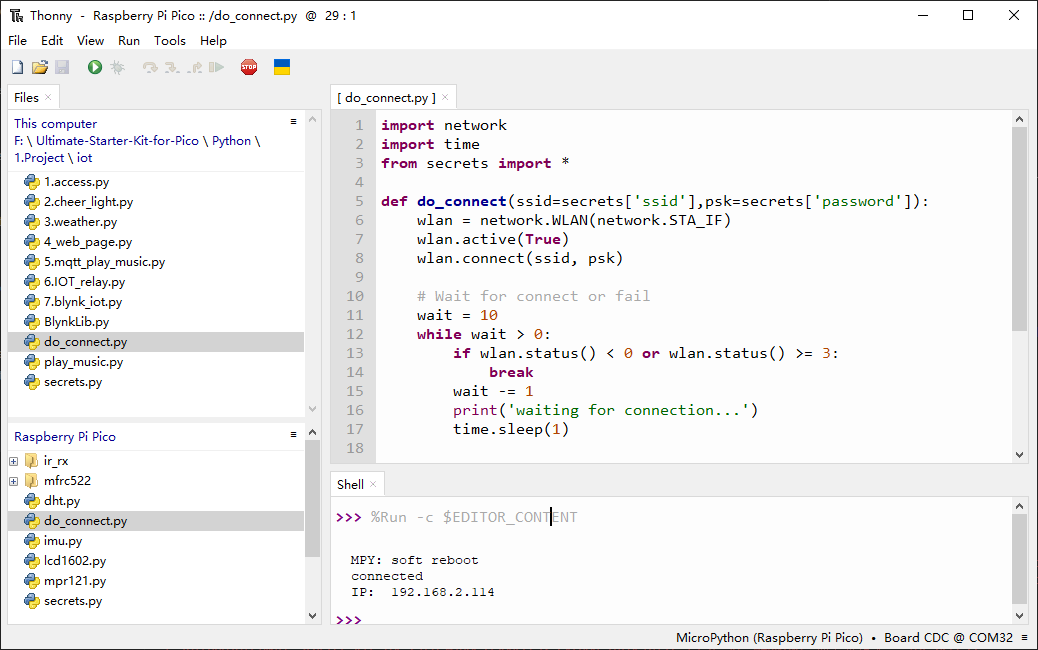
Calling it in other scripts by the following will allow the Raspberry Pi Pico W to connect to the network.
from do_connect import *
do_connect()