Python Preparation
1.Download the Thonny
Before you can start to program Pico W with MicroPython, you need an integrated development environment (IDE), here we recommend Thonny. Thonny comes with Python 3.7 built in, just one simple installer is needed and you’re ready to learn programming.
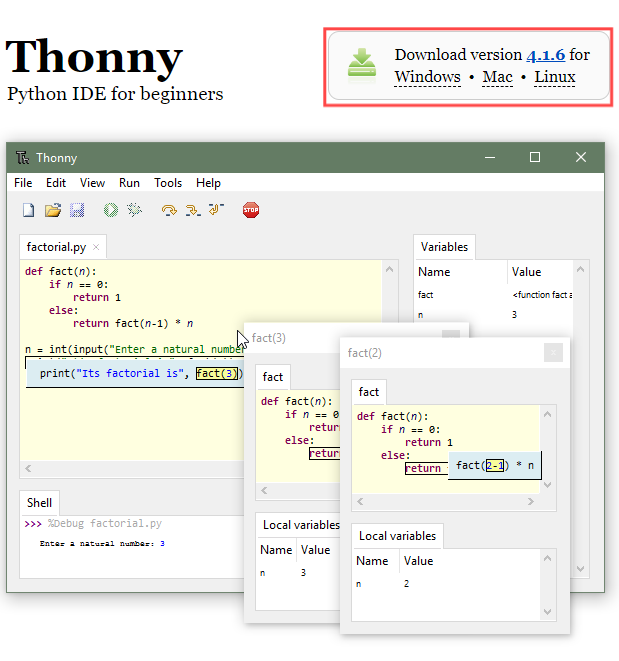
Visit Download Thonny page.
Download the IDE for your OS version.
Note
You can also open “Ultimate_Starter_Kit_for_Pico/Python/Software”, we have prepared it in advance.
2.Installation
Windows
The icon of Thonny after downloading is as below. Double click “thonny-4.1.6.exe”.
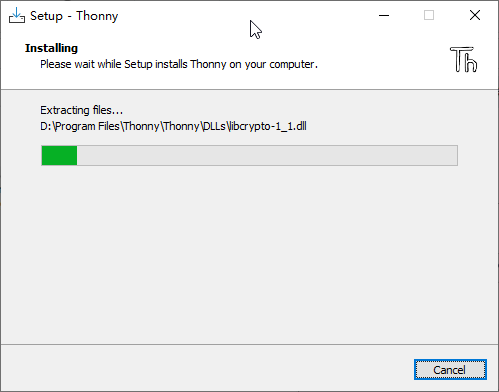
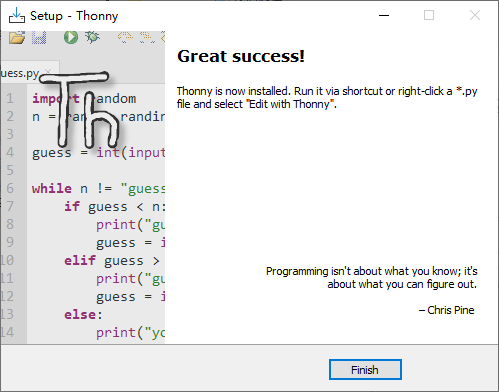
If you’re not familiar with computer software installation, you can simply keep clicking “Next” until the installation completes.
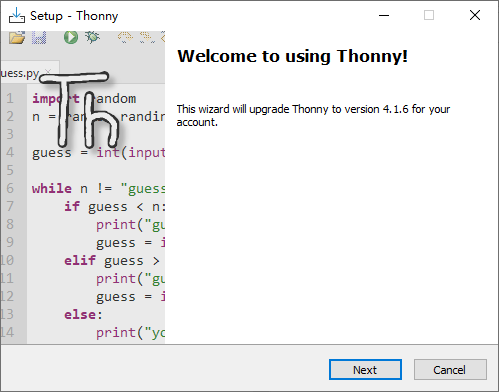
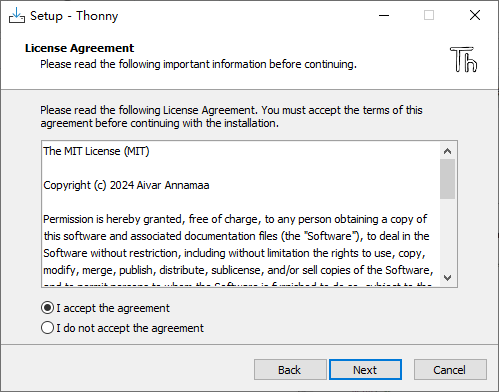
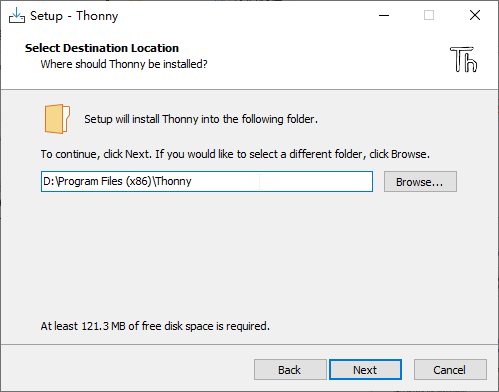
If you want to change Thonny’s installation path, you can click “Browse” to modify it. After selecting installation path, click “OK”. If you do not want to change it, just click “Next”.
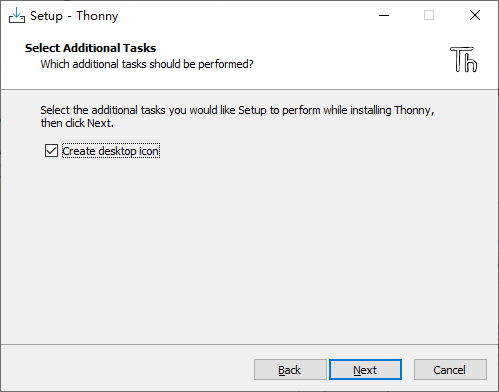
Check “Create desktop icon” and then it will generate a shortcut on your desktop to facilitate you to open Thonny later.
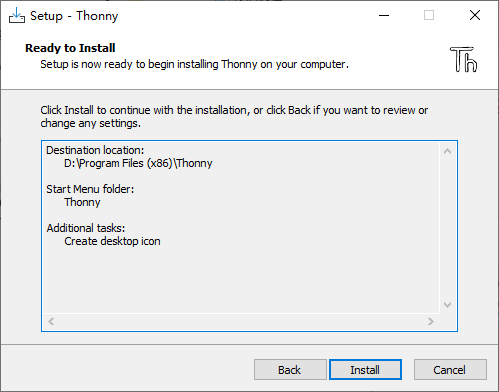
Click “install” to install the software.
If you’ve check “Create desktop icon” during the installation process, you can see the below icon on your desktop.

3.Basic Configuration of Thonny
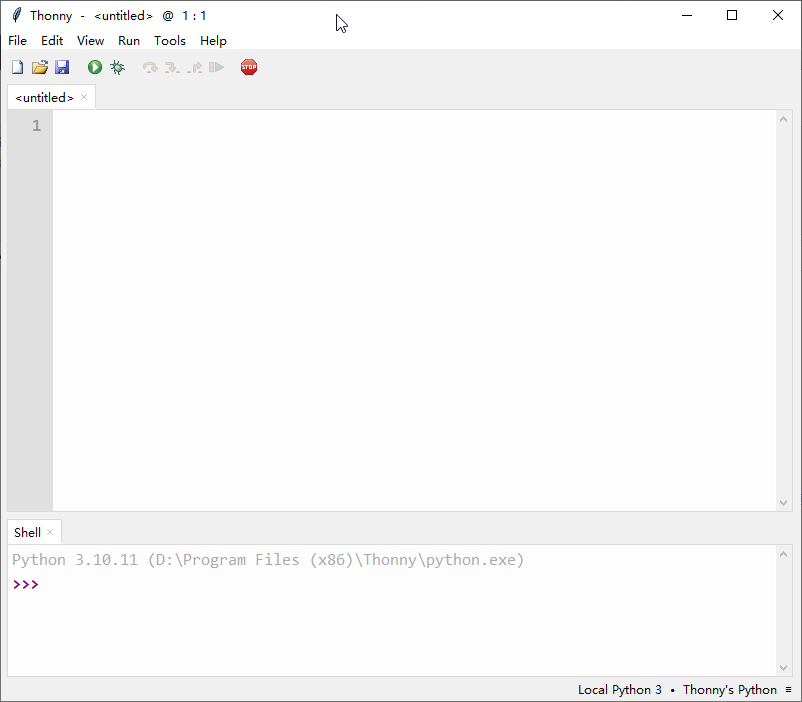
Click the desktop icon of Thonny and you can see the interface of it as follows:
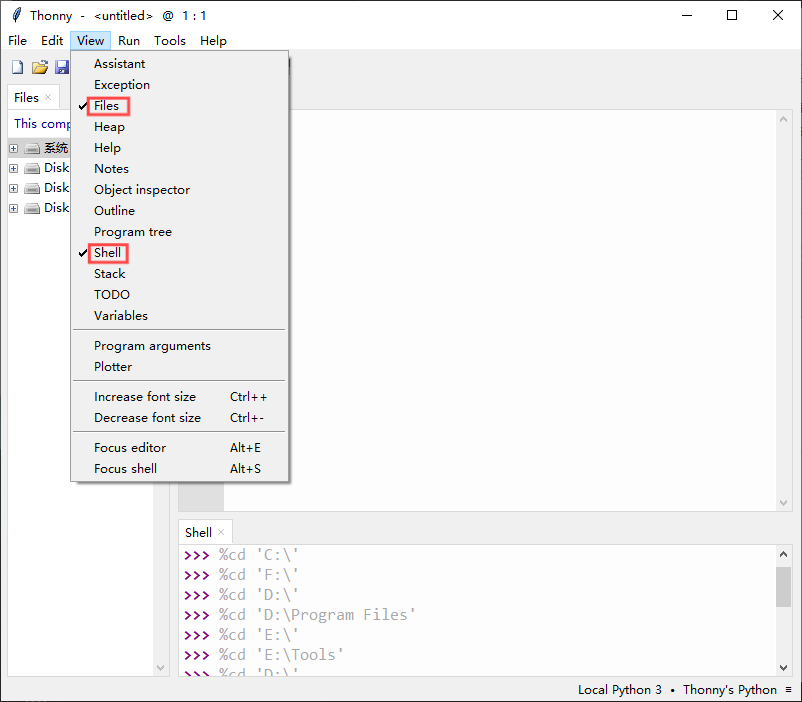
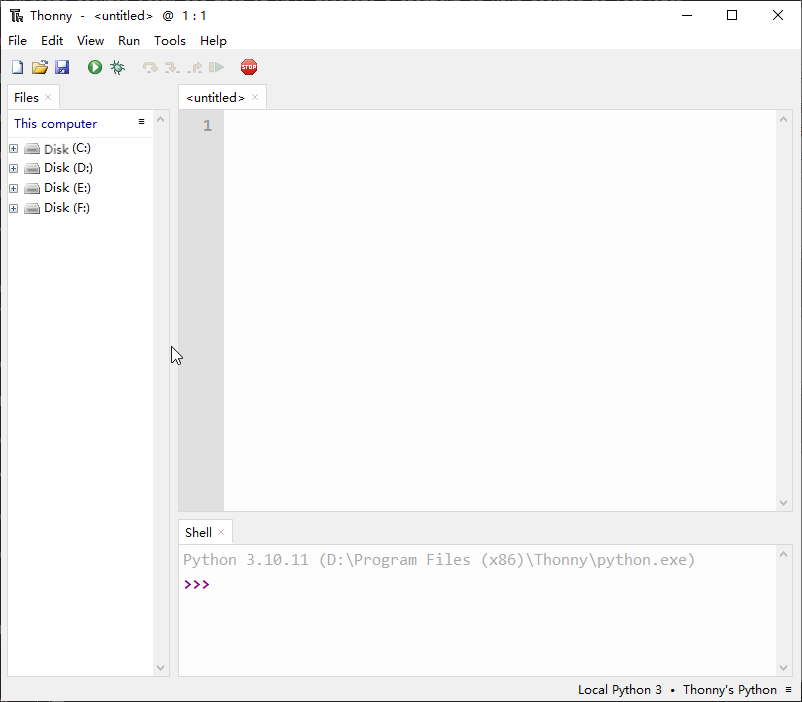
Select “View” >> “Files” and “Shell”.
(1).Install Micropython Firmware to your Pico W(Important)
We will now install MicroPython onto the Raspberry Pi Pico W. Thonny IDE provides a one-click installation method.
Open Thonny IDE first.
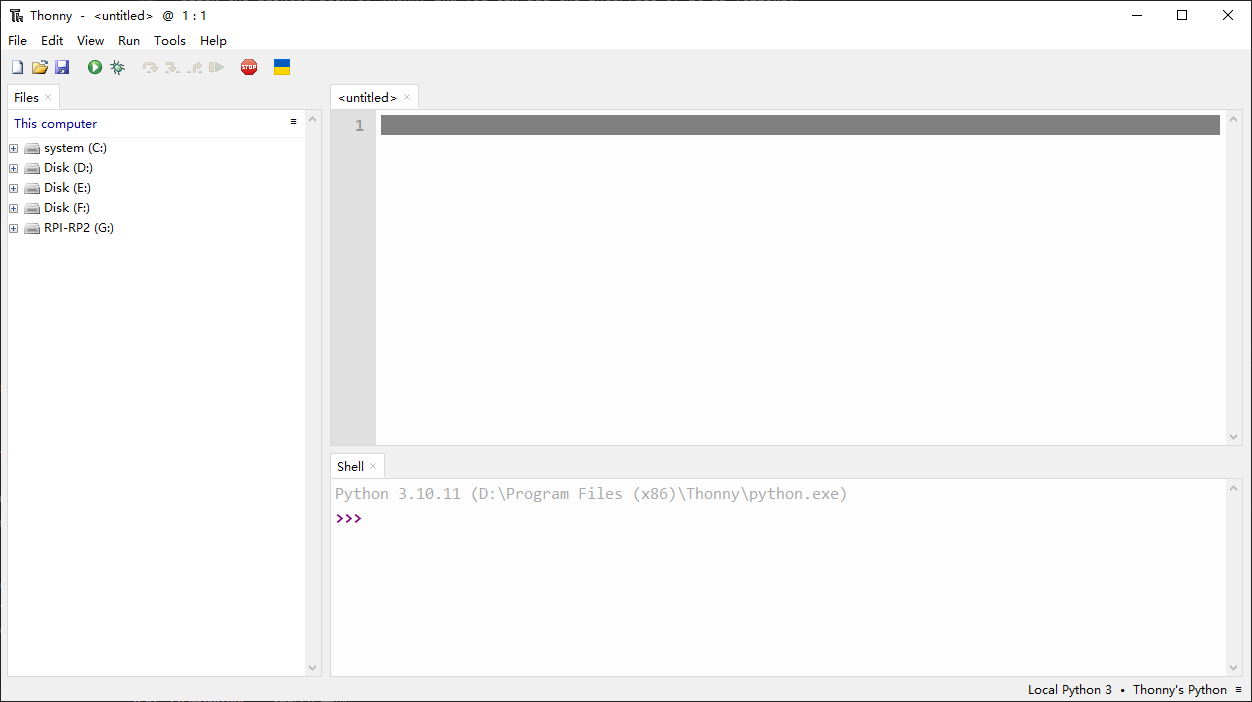
Hold down the BOOTSEL button on the Pico W, then connect it to your computer using a Micro USB cable. Release the BOOTSEL button when a device named RPI-RP2 appears on your computer
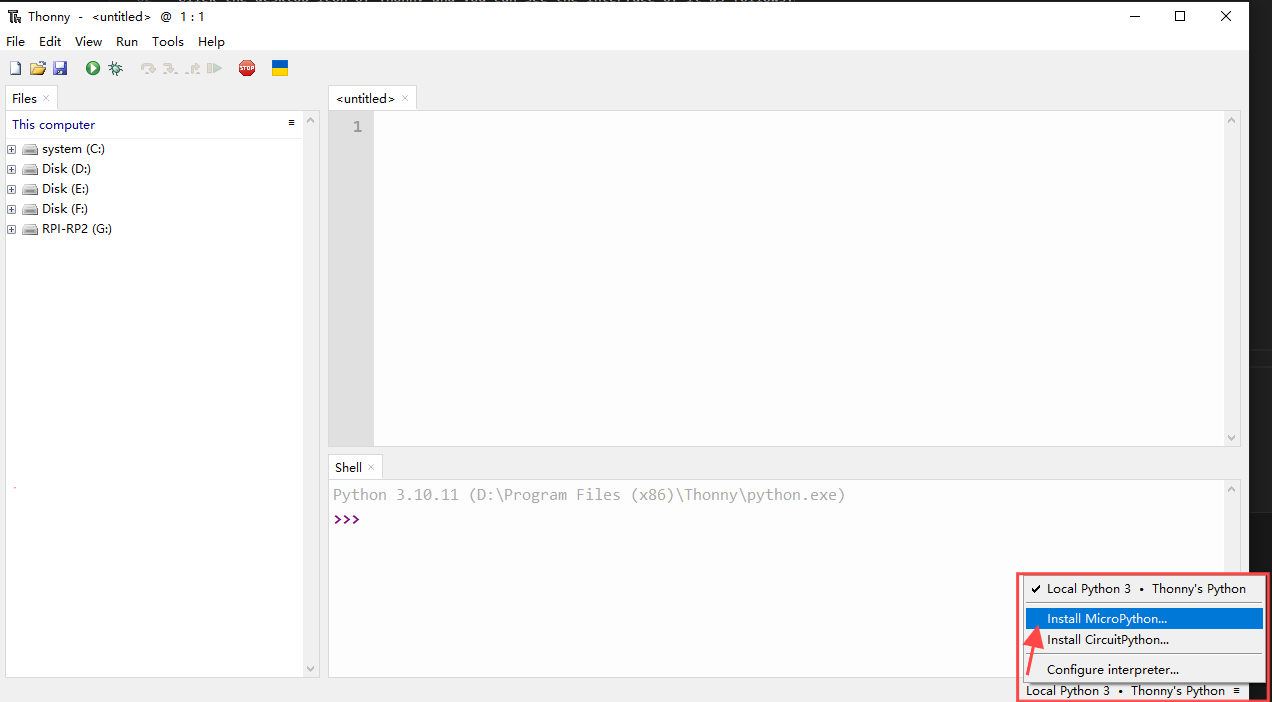
In the bottom right corner of the IDE, select Install MicroPython.
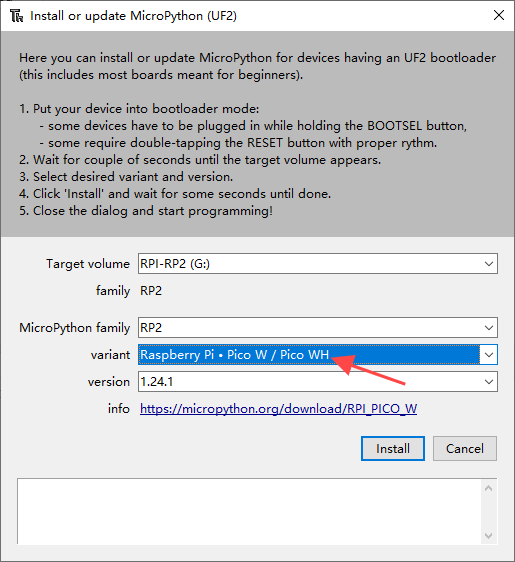
A window will appear. In the Target volume, the Pico W volume you just inserted will automatically show up. Under MicroPython variant, select Raspberry Pi Pico W/Pico WH. For the version, choose 1.24.1. Click Install and wait for the process to complete
Your Pico W is now ready!
4.Testing codes (Important)
Ensure that the Pico W has MicroPython installed and is connected to your computer via a USB cable. Open Thonny and click on the bottom right corner to ensure that MicroPython (Raspberry Pi Pico W) is selected. The COM port may vary depending on your system.
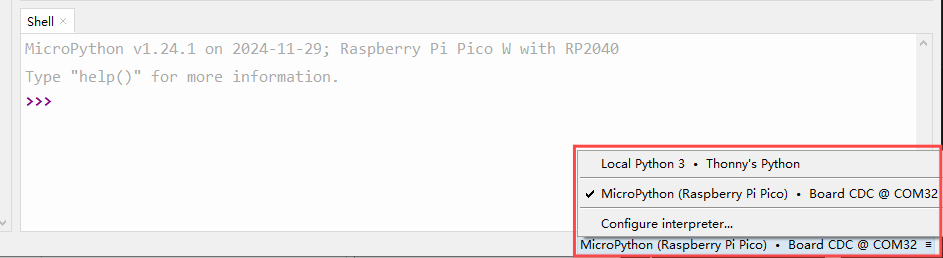
After configuration, every time you open Thonny, it will communicate with Pico W. The interface is shown below.

Enter print('hello world') in “Shell” and press Enter.

5.Uploading Libraries to Pico W
In some projects, you will need additional libraries. So here we upload these libraries to Raspberry Pi Pico W first, and then we can run the code directly later.
1.Open Thonny IDE, connect the Pico W to your computer using a Micro USB cable, and then click on MicroPython (Raspberry Pi Pico W).COMXX in the bottom right corner.
2.Switch the IDE to the project folder Ultimate-Starter-Kit-For-Pico/Python/2.Library and upload all the files to the root directory (/). Uploading may take a little time.

3.Now you will see the libraries you just uploaded in your Pico W.

6.Open and Run Code
1.The Code section in the project will tell you which code snippet is used, so you can find the code file at the corresponding path. If you double-click it, a new window will open on the right side. You can open multiple codes at the same time.
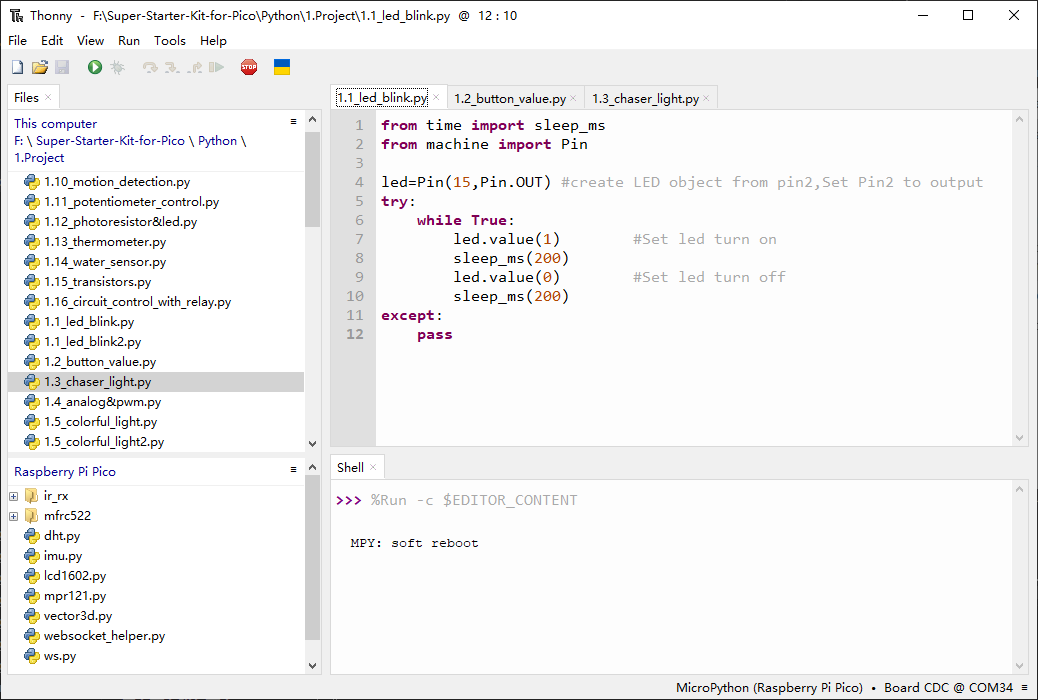
2.Select the script you want to run and click the Run Current Script button or press F5.
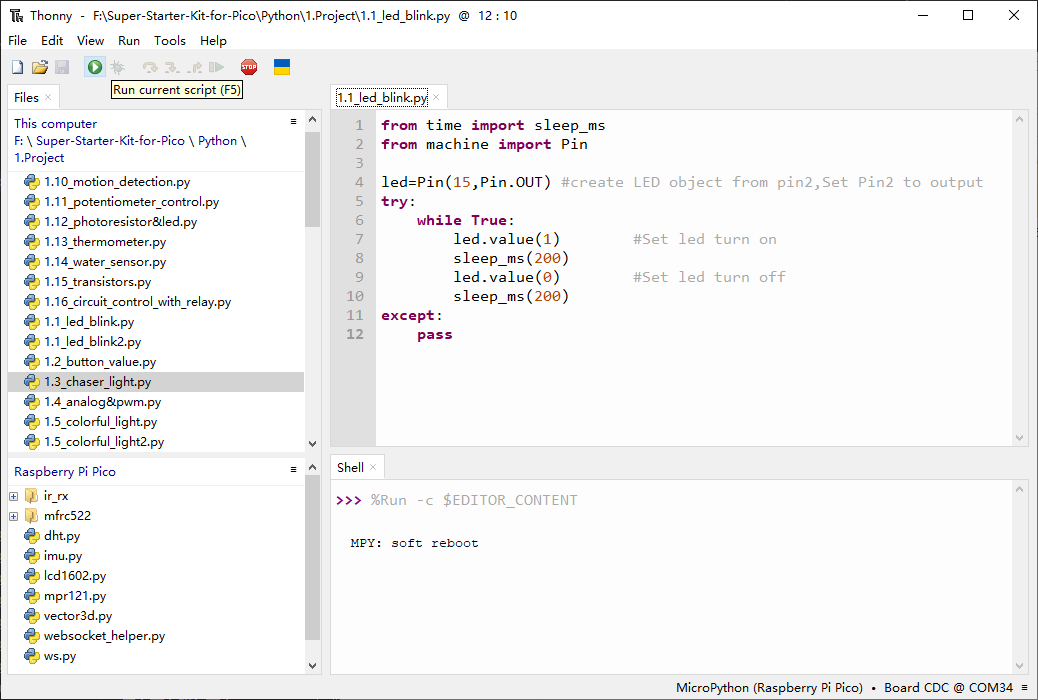
If the code contains information to be printed, it will appear in the Shell; otherwise, only the following information will be displayed.
MicroPython vx.xx on xxxx-xx-xx; Raspberry Pi Pico W  With RP2040

Type "help()" for more information.
>>> %Run -c $EDITOR_CONTENT
3.To stop the running code, click the Stop/Restart Backend button. The %Run -c $EDITOR_CONTENT command will disappear after stopping.

4.We can use the Save button at the top of the IDE, or press Ctrl+S, to save changes to the current file.
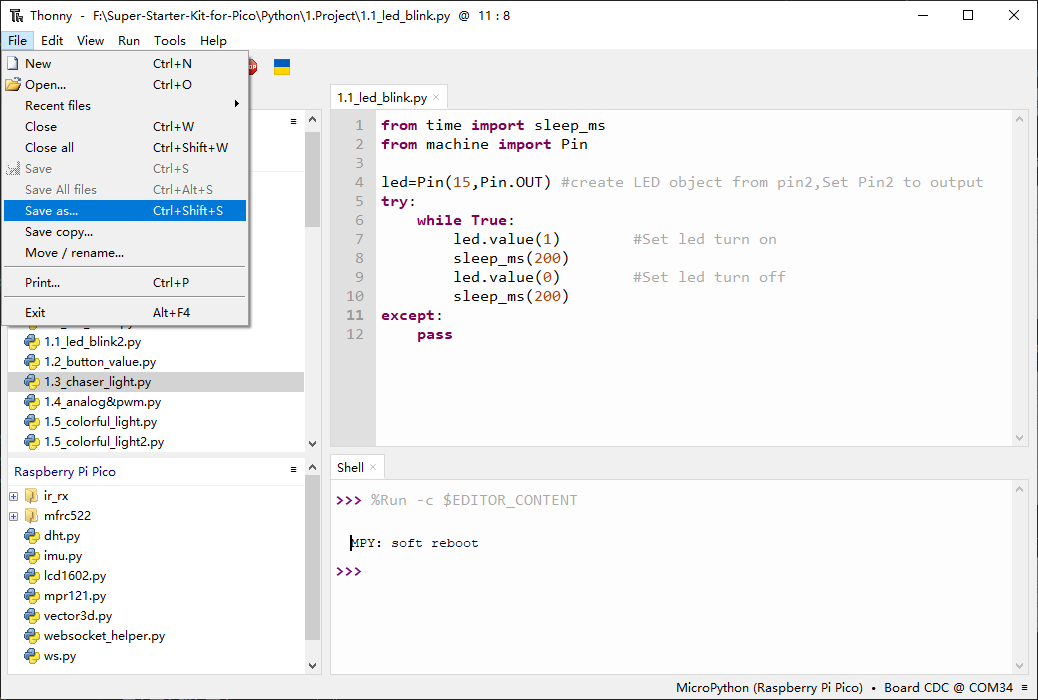
You can also use File -> Save As to save the code as a separate file.
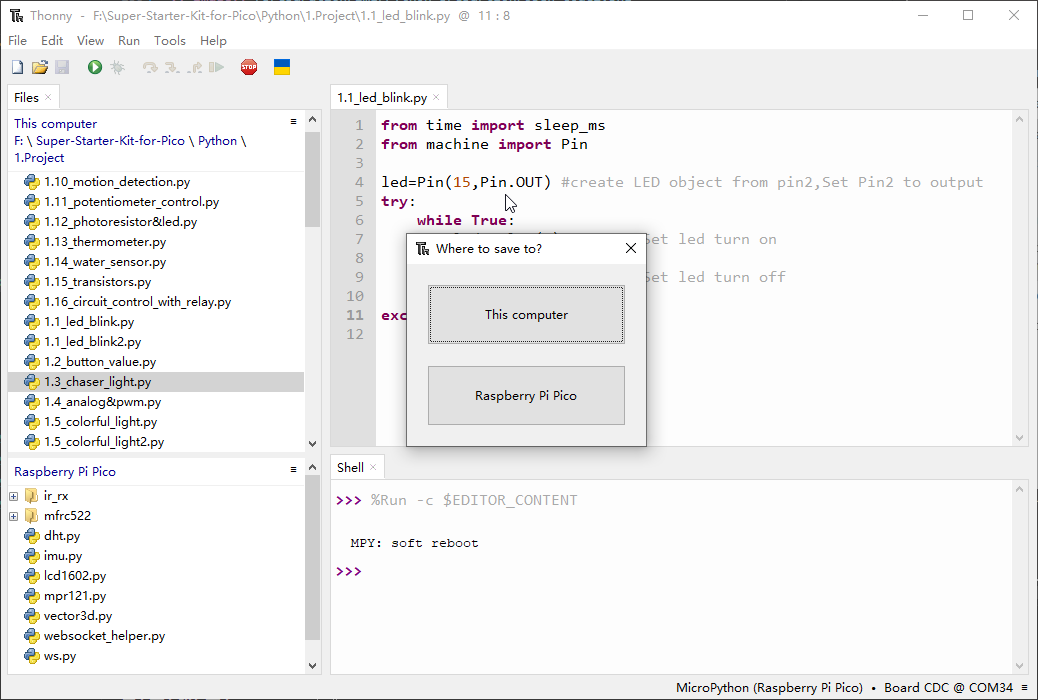
Select Raspberry Pi Pico W.
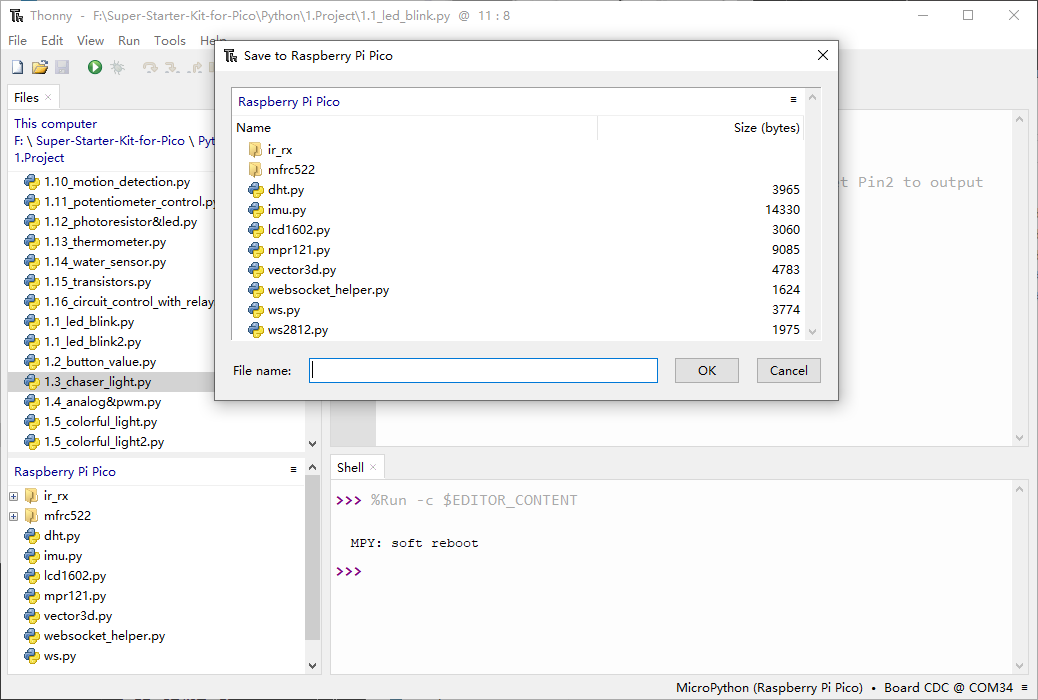
Enter a filename with the extension .py, then click OK. You will see the saved file on the Raspberry Pi Pico W.
Note
Regardless of what name you give your code, it’s best to describe what type of code it is, and not give it a meaningless name like abc.py. When you save the code as main.py, it will run automatically when the power is turned on.